SVG to STL: multicolor 3D prints from SVGs
A browser tool that turns a colored SVG into one STL per color for multicolor 3D printing, even when the shapes overlap. Here's how it flattens them, finds areas too thin to print and builds the base plate.
I print logos and signs on a multicolor printer, and it always starts with an SVG. svg2solid got me most of the way there: it turns each color into its own solid. But as soon as shapes overlap, which they do in almost every logo, the solids intersect and the slicer can't make sense of them. So I built my own version, right here:
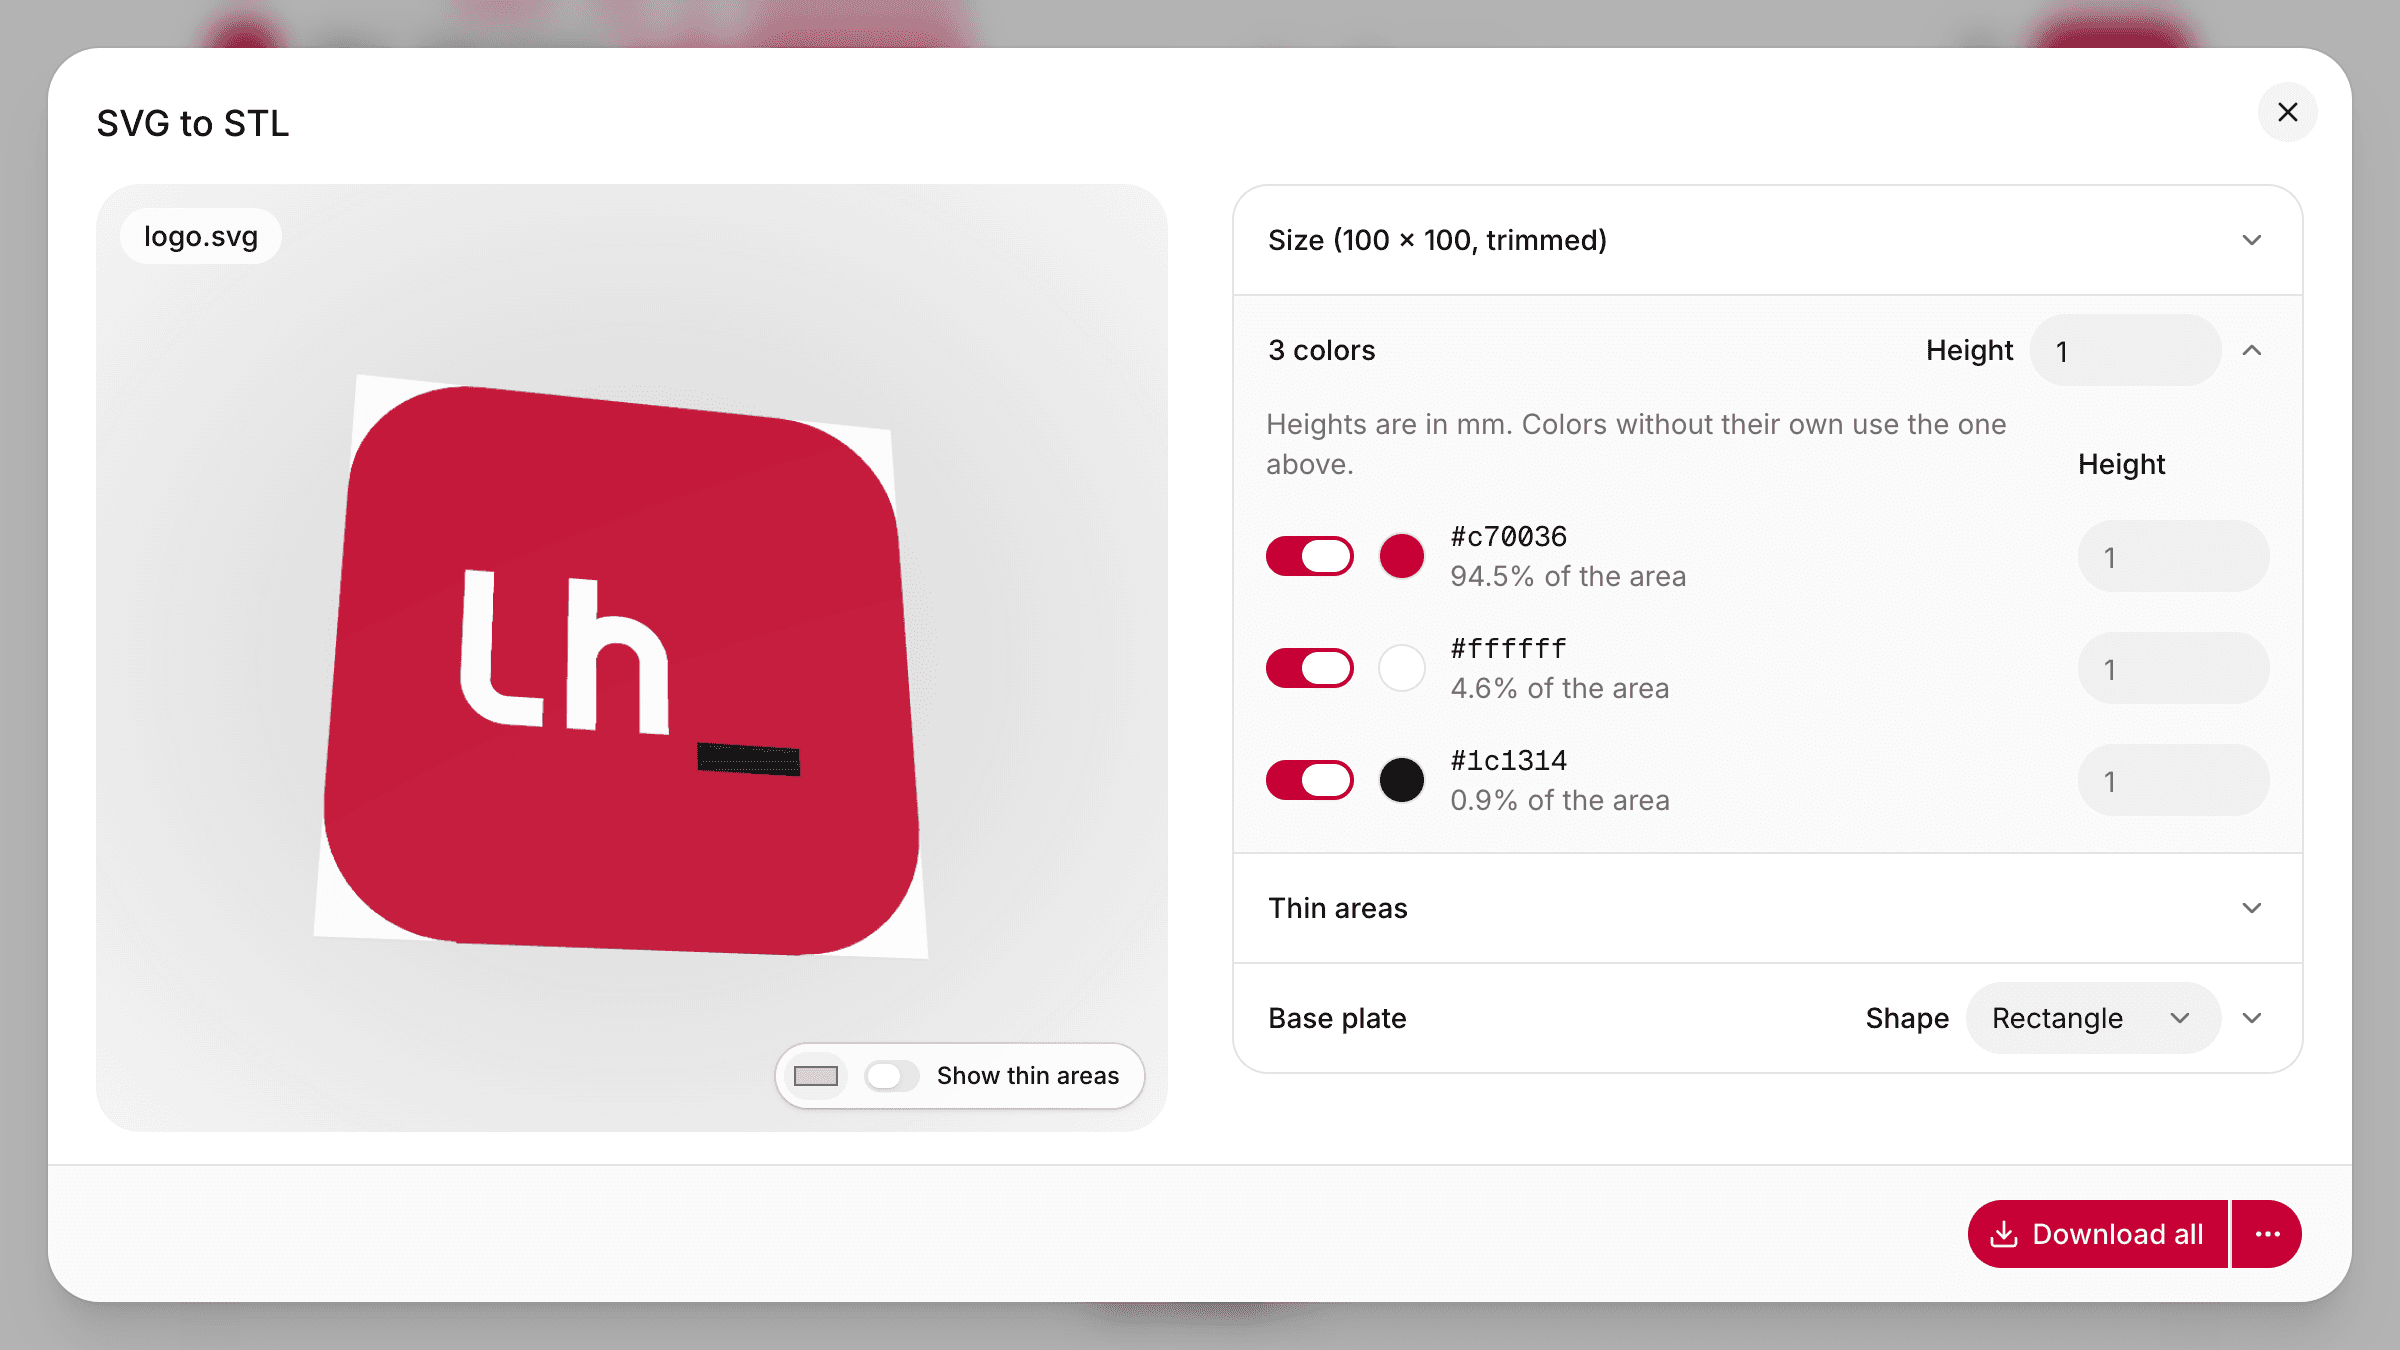
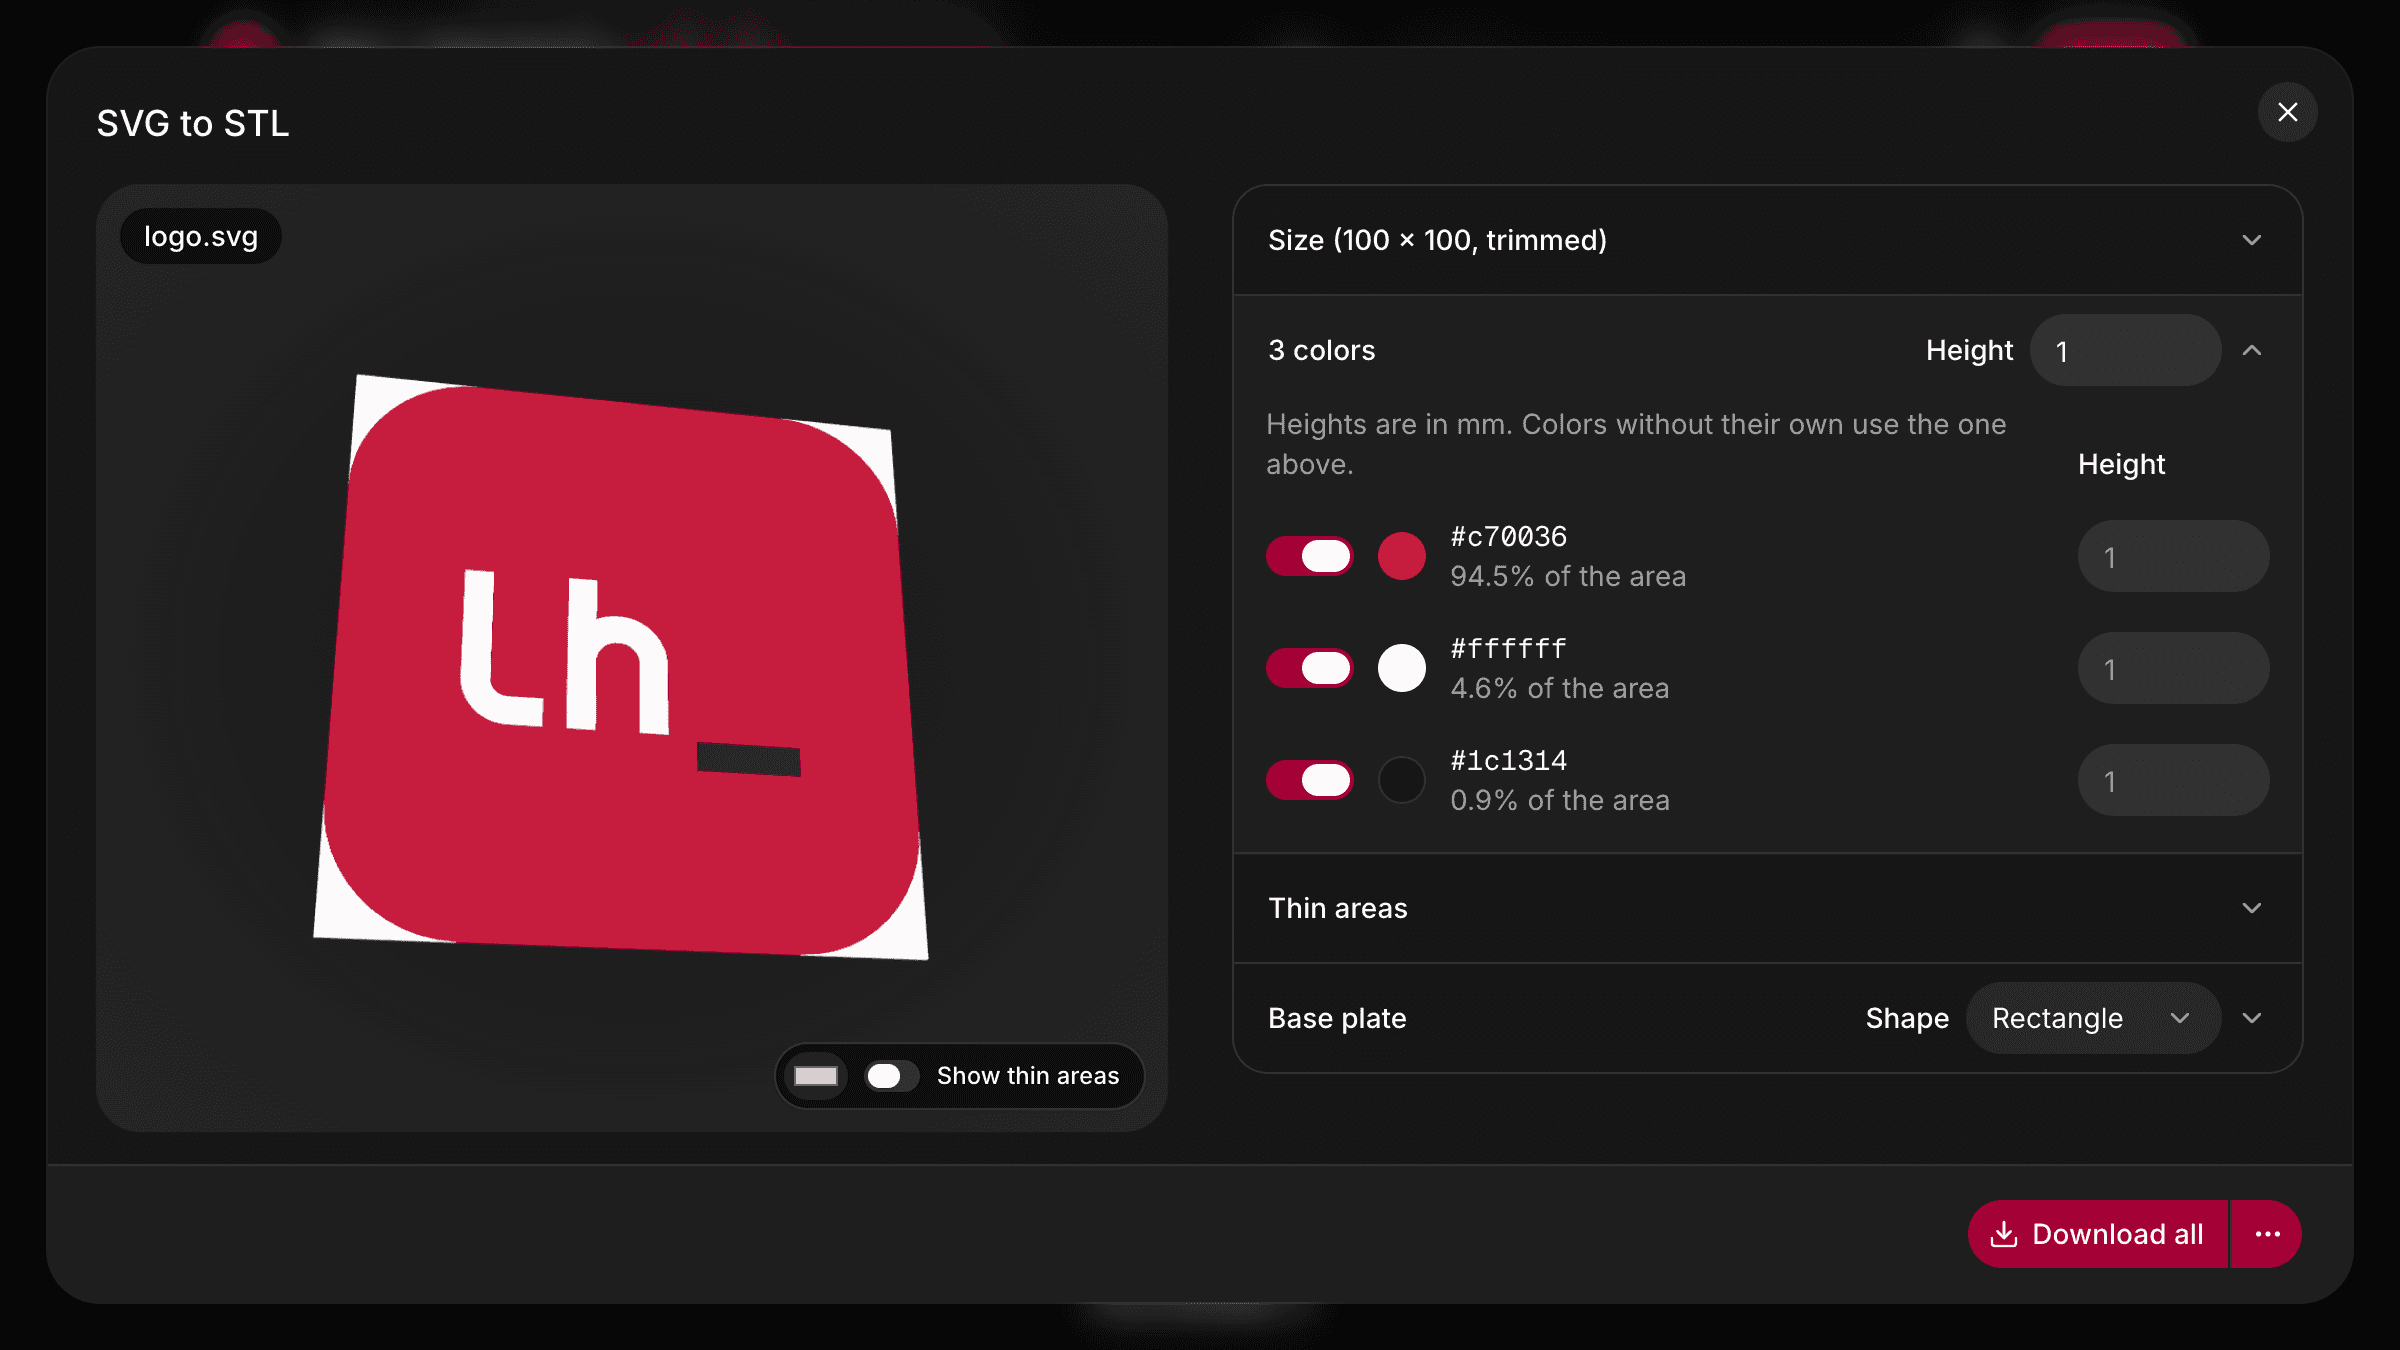
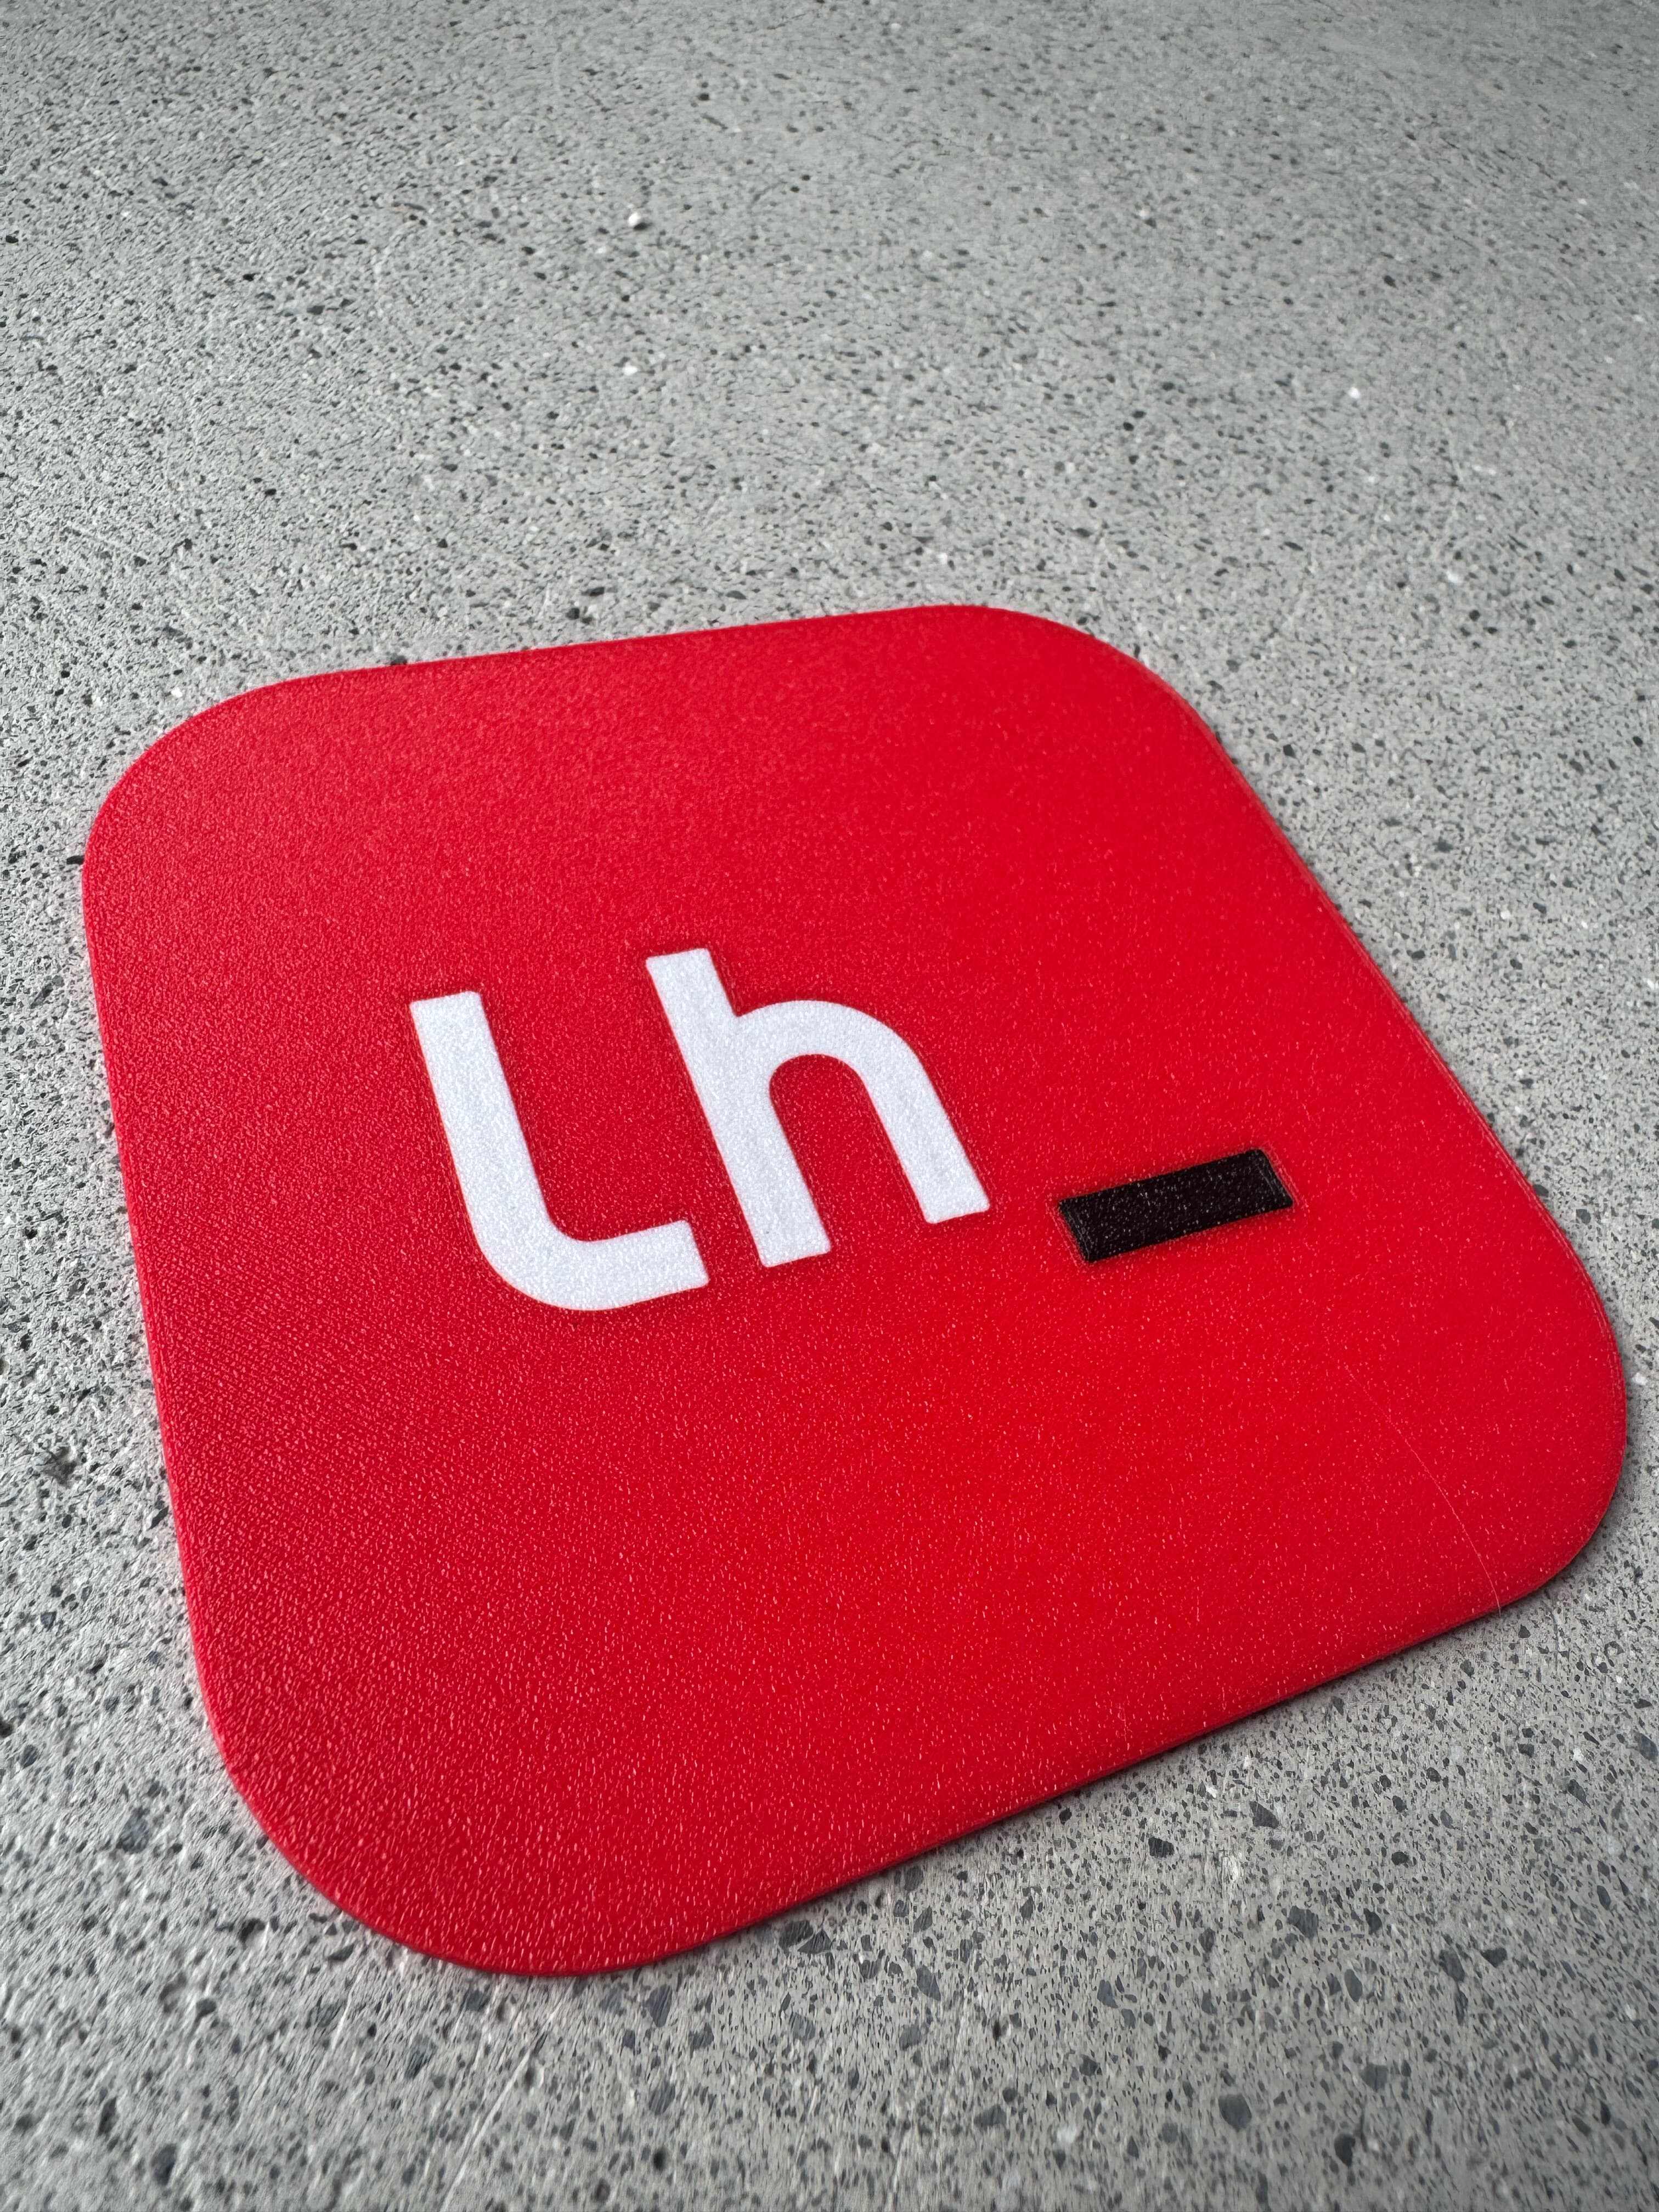
Drop in an SVG (or try one of the samples), set the size and the heights, and download one STL per color. Load them into your slicer as parts of one object, and they line up. This is the logo sample, printed as a coaster on a Prusa Core One with MMU3:
To print it yourself, download the PrusaSlicer project of the logo sample, or get all files, including STLs for other slicers, on Printables.
Why overlapping shapes break the print
An SVG paints its shapes on top of each other. A white letter on a red badge is a red rounded rectangle with a white shape painted over it. On screen that's fine: the shape on top wins. Extrude both as they are, though, and you get a red slab with a white solid stuck inside it. Two solids claim the same space, and the slicer has to guess which filament goes there.
A print needs the opposite: every point belongs to exactly one color.
Flattening in painting order
So the tool does what the renderer does. Going through the shapes from the top layer down, each one loses the area that the shapes above it already cover. What's left is exactly what you see in the rendered SVG, split by color:
function visibleRegions(layers: Layer[]) {
  let covered: Area = [];
  const byColor = new Map<string, Area>();

  // Top layer first: what's painted above always wins
  for (const { color, shape } of layers.toReversed()) {
    const visible = difference(shape, covered);
    covered = union(covered, shape);
    byColor.set(color, union(byColor.get(color) ?? [], visible));
  }

  return byColor;
}
difference and union are polygon boolean operations, from Clipper2 (the clipper2-ts port). Strokes take part too: Clipper2 turns each one into an exact outline, with the SVG's joins and caps, before it's flattened. Both fill rules (nonzero and evenodd) work, and masks and clip paths are applied. Gradients and transparency aren't supported, and the tool tells you when it skips something. Text has to be converted to paths first.
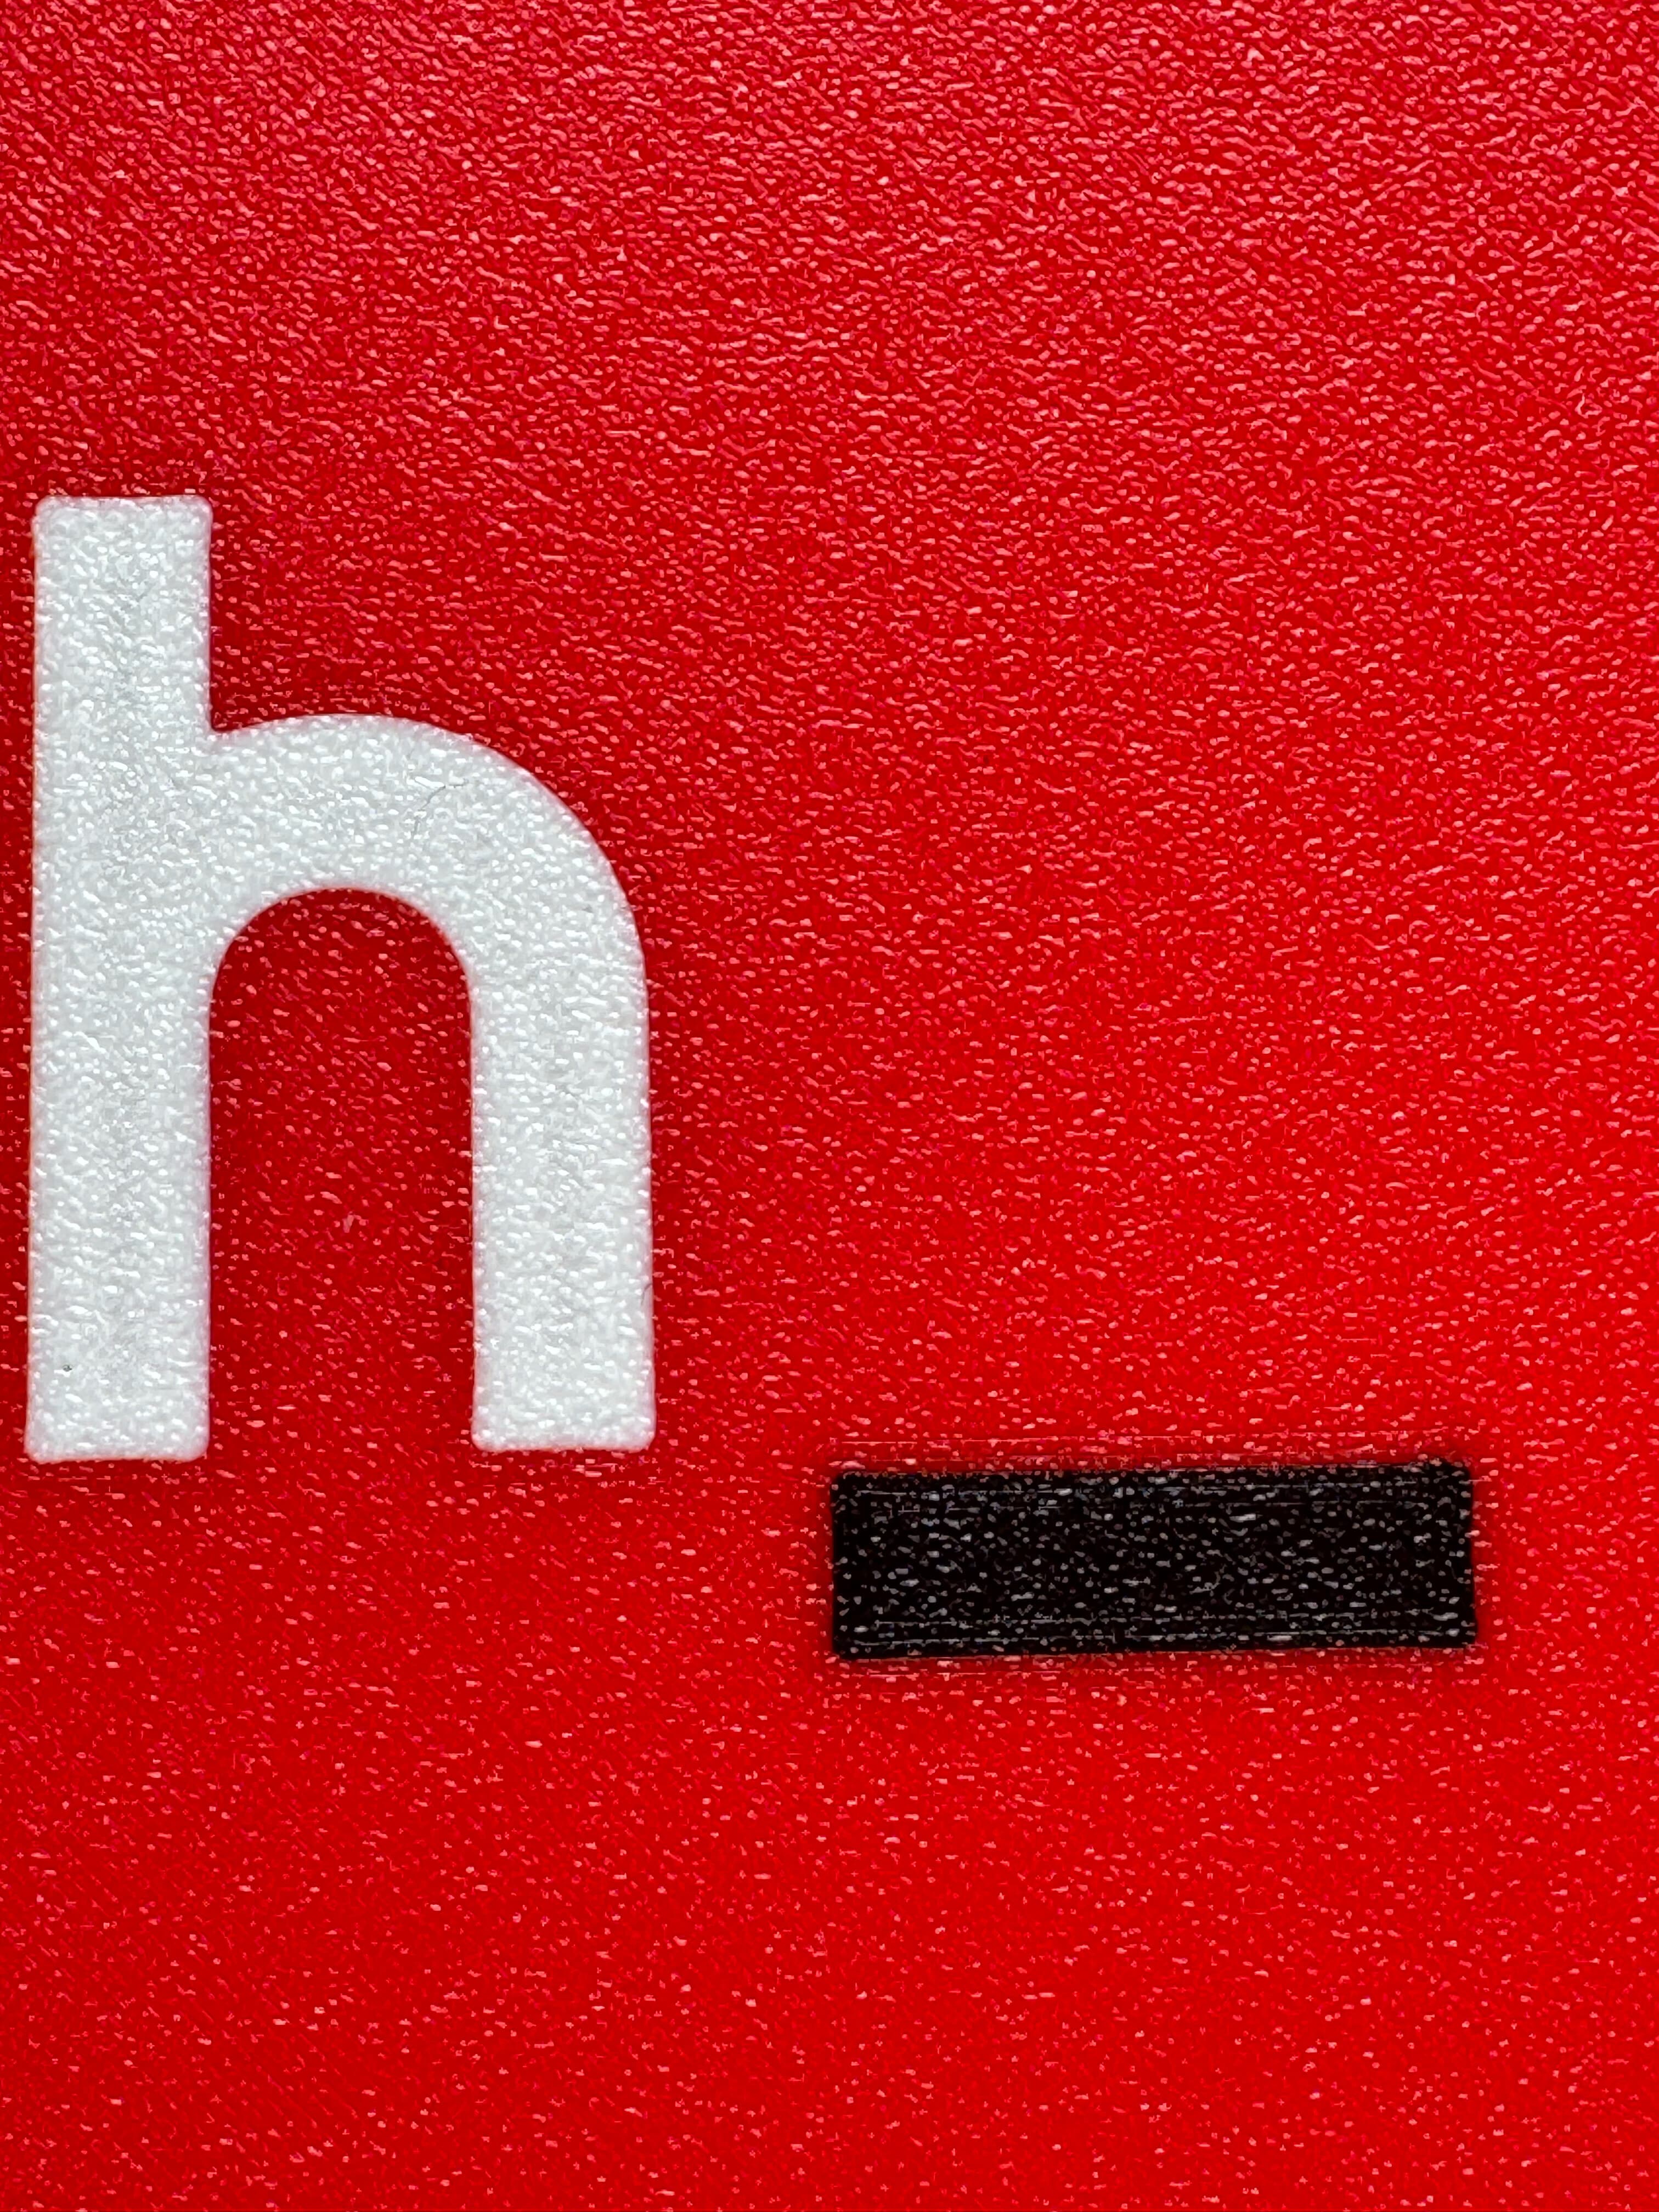
In the print, every color ends exactly where the next one begins:
Thin areas
Flattening creates a problem of its own: where a shape is mostly covered, thin slivers remain. And some logos are just delicate. A printer can't print anything narrower than one extruded line, so the tool asks for your line width. The default is PrusaSlicer's 0.45 mm for a 0.4 mm nozzle.
Everything narrower is listed per color, with how much of the color it is, and Show thin areas marks it in magenta in the preview. Under the hood that's a morphological opening: shrink each color by half a line width, grow it back, and whatever doesn't come back is too thin.
Two optional fixes help, both marked as preview because they don't always work perfectly yet:
- Remove unprintable details merges details below a quarter of the line width, which slicers skip anyway, into the neighboring color with the longest shared edge.
- Thicken thin areas grows the outline in small steps, only next to parts that are still too thin, so each spot grows just until it's one line wide. It changes the look, so it's off by default.
The base plate
Most prints need something to hold the colors together. By default that's a rectangular plate, placed Cut out: the colors sit in pockets as deep as they're high, so the top is flush, and where the plate is thicker than a color it stays closed behind it. Below puts the colors on top of the plate instead, and the Outline shape follows the colors.
The model is sized by the SVG's canvas, or trimmed to the colors you've selected: switch off a color, and the model shrinks to the rest. All parts share one coordinate system, which is what makes them line up in the slicer.
Print it face down
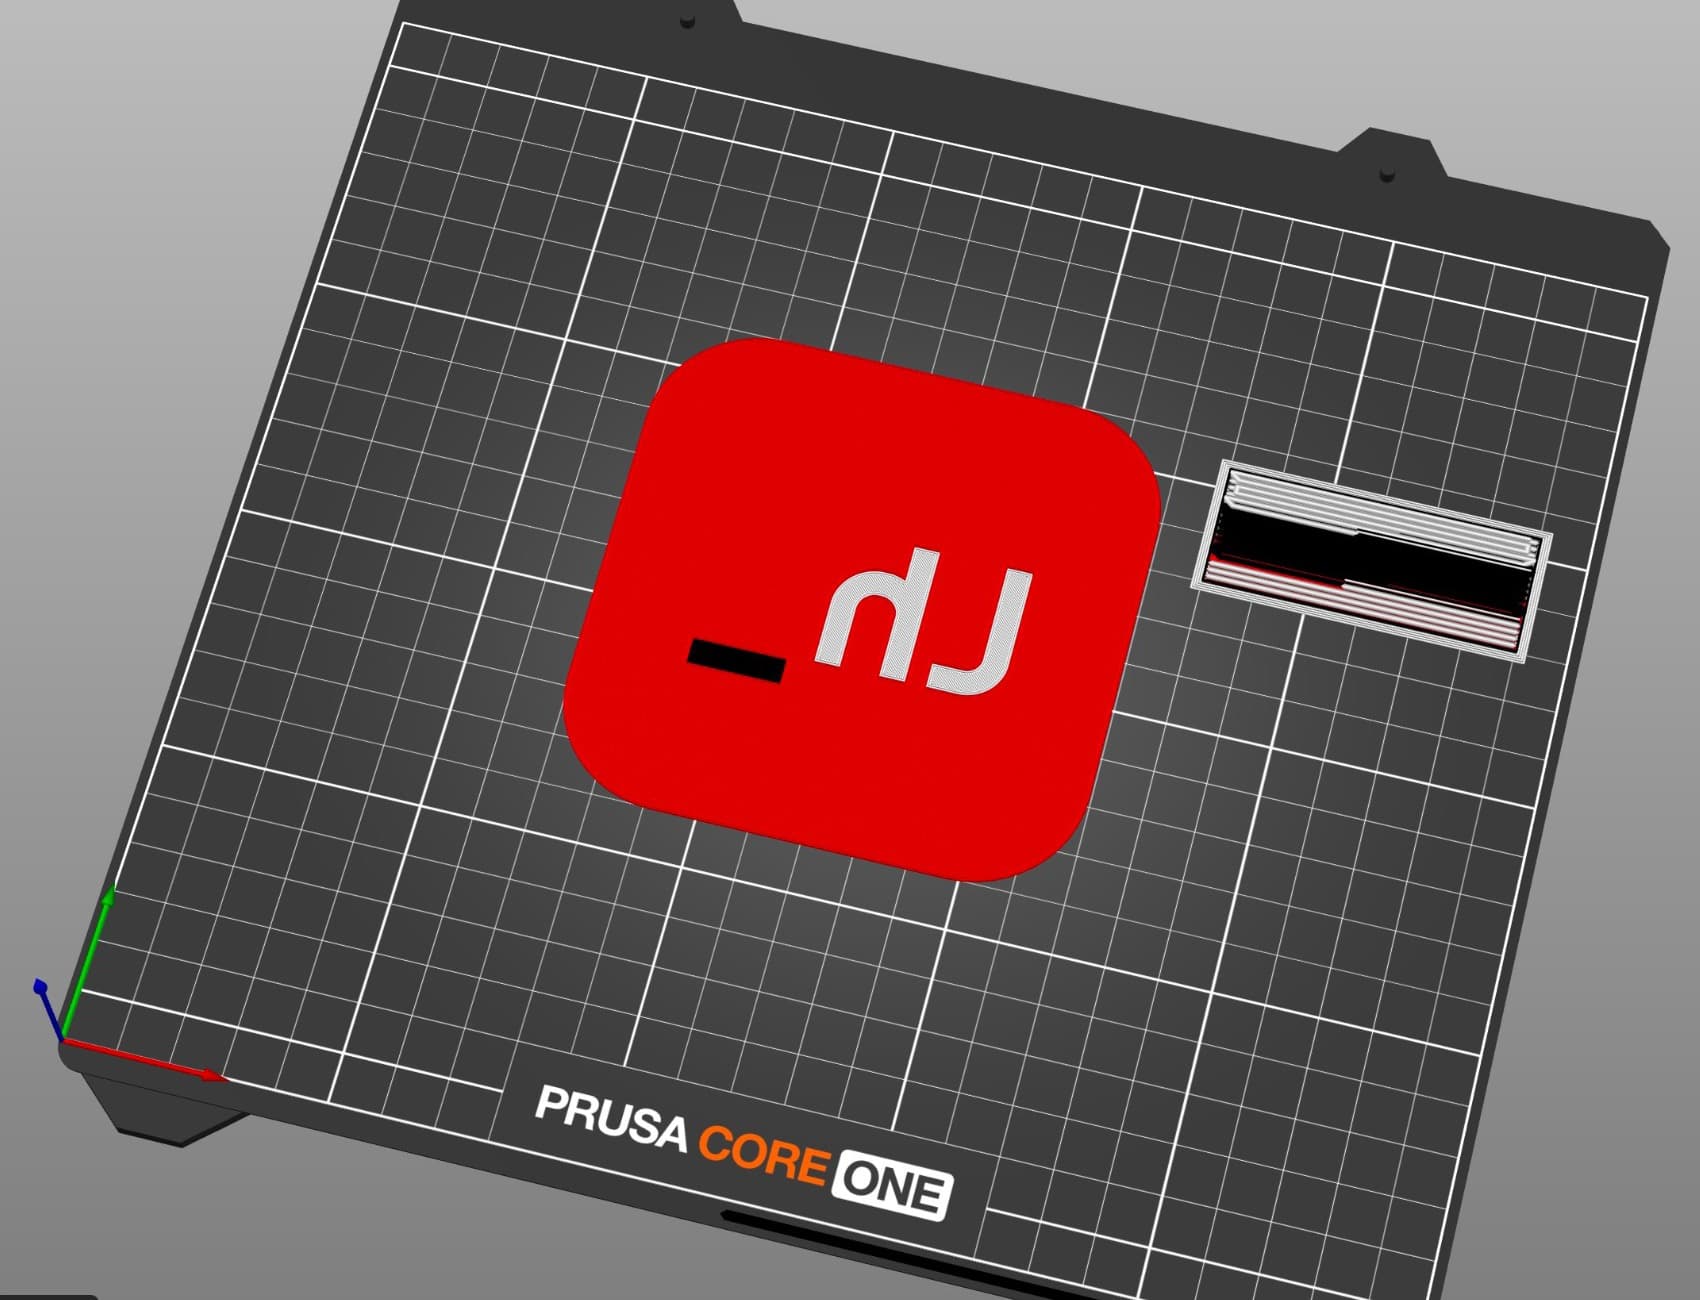
With Cut out, the colored side is completely flat, so you can print it face down. Flip the model upside down in the slicer, and the side you'll look at is printed directly on the print sheet instead of being the last layer. It comes out perfectly even, and on a textured sheet it takes on the sheet's texture. In the slicer the logo then looks mirrored, which is right. That's how I printed the logo sample:
Everything stays in your browser
The whole tool runs on your device: three.js parses the SVG, extrudes the colors, renders the preview and exports the STLs, and fflate zips them for Download all. Your files aren't uploaded anywhere. And the tool only loads when you open it, so this post stays light.
Print your own logo
A coaster is just one idea. The same flat plate works as a gift box lid, a gift tag or an ornament, a name plate or door sign, a fridge magnet, a keychain, a label for a drawer, a Wi-Fi QR code sign for guests, or a logo inlay for an enclosure.
If you print with an AMS or an MMU, try it with your own logo, and let me know where it breaks. And if it works, post your print as a make on Printables. I'd love to see which logos people print.
Changelog
- October 13, 2026: Masks and clip paths now work. Logos that get their rounded corners from a mask, which is how many app icons are exported, used to come out with sharp corners, because three.js's SVG parser ignores masks.